どうもです。タドスケです。
しぬまでワクワクしていたい
前回はプレイヤーと足場の衝突判定を追加しました。
今回はプレイヤーの操作処理を作っていきます。
目次
動かしてみる
PCの場合
このシリーズのコンセプトは「スマホだけでゲームを作る」なので、少し本筋とは逸れてしまうのですが、参考までに公式のコードを載せておきます。
var cursors;
function create()
{
    // (その他の処理)

    // キー入力の取得
    cursors = this.input.keyboard.createCursorKeys();
}

function update()
{
    if (cursors.left.isDown)
    {
        player.setVelocityX(-160);
        player.anims.play('left', true);
    }
    else if (cursors.right.isDown)
    {
        player.setVelocityX(160);
        player.anims.play('right', true);
    }
    else
    {
        player.setVelocityX(0);
        player.anims.play('turn');
    }

    if (cursors.up.isDown && player.body.touching.down)
    {
        player.setVelocityY(-330);

    }
}
このコードを貼り付けると、矢印キー左右で移動、上キーでジャンプができる……らしいです。(試していません)
スマホの場合
スマホには矢印キーが無いので、別の実装が必要になります。
Phaserにはマウスクリックを判定する機能もあるので、そちらを利用しましょう。
マウスクリックはタッチ操作で代用できるので、マウスだけでプレイできるゲーム=スマホでもプレイできるゲームとなります。
以下のコードをcreate / update関数に貼り付けてみてください。
function create()
{
    // マウス入力を有効にする
    this.input.mouse.capture = true;

    // (その他の処理)
}

function update ()
{
    var pointer = this.input.activePointer;
    if(pointer.isDown)
    {
        // 左移動
        if(pointer.x < 150)
        {
            player.setVelocityX(-160);
            player.anims.play('left',true);
        }
        // 右移動
        else if(150 < pointer.x)
        {
            player.setVelocityX(160);
            player.anims.play('right',true);
        }

        // ジャンプ
        if(pointer.y < 200 && player.body.touching.down)
        {
            player.setVelocityY(-330);
        }
    }
    // 停止
    else
    {
        player.setVelocityX(0);
        player.anims.play('turn');
    }
}
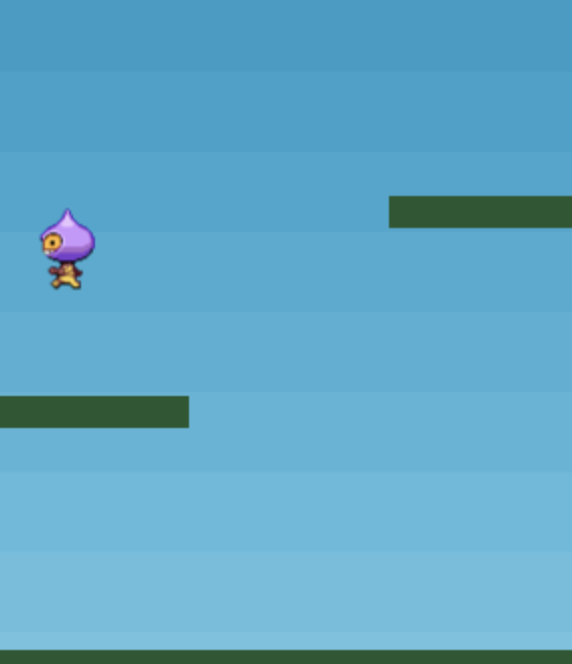
実行すると以下のように動きます。
- 画面左側をタッチ→左移動
- 画面右側をタッチ→右移動
- 画面上側をタッチ→ジャンプ


コメント
コメント一覧 (3件)
[…] このブログのメインコンテンツとしてやりたいと考えているのが、 ブラウザゲームを公開する作成過程もコンテンツにする完成したら、得られたノウハウを記事にする共通処理をまとめてライブラリとして公開する です。 現在は育児により… 【Part5】スマホで作るPhaserゲーム〜チュートリアル編〜 【Part7】スマホで作るPhaserゲーム〜チュートリアル編〜 […]
[…] […]
[…] […]