どうもです、タドスケです。

前回のプログラムを作っていて、入力周りなどの「Three.js(3D 描画)と関係のないコード」をもう少し簡潔に書けないかなーと思いました。
入力用のライブラリを自分で作っても良いのですが、ふと

以前に使った Phaser の入力機能だけ持ってこれないかな?
と思い立ちました。
Phaser については、以下のシリーズで触っています。


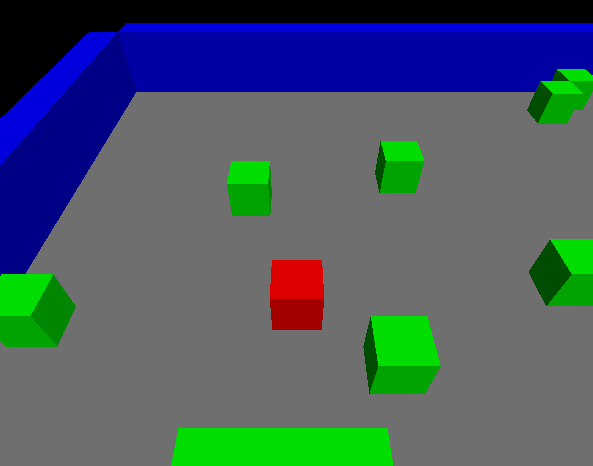
そこで、今回は Three.js と Phaser を組み合わせたプログラムに挑戦してみました。
完成品
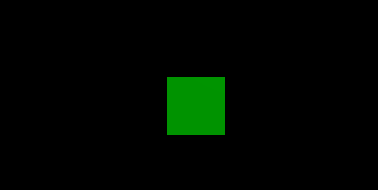
完成品はこちら!
- WASD キーでキューブが移動します
- 入力は Phaser 側で、キューブの描画は Three.js で行っています。
コード
コードは以下です。
(ChatGPT に生成させたものを一部修正しています)
<!DOCTYPE html>
<html>
<head>
    <title>Phaser の描画を Three.js にする</title>
    <style>
        body { margin: 0; }
        canvas { display: block; }
    </style>
</head>
<body>
    <script src="https://cdnjs.cloudflare.com/ajax/libs/three.js/r128/three.min.js"></script>
    <script src="https://cdnjs.cloudflare.com/ajax/libs/phaser/3.55.2/phaser.min.js"></script>
    <script src="with_phaser.js"></script>
</body>
</html>// Three.js 関連の処理を行うクラス
class ThreeJSScene {
constructor() {
this.initScene();
this.createCube();
this.addLights();
this.setupCamera();
}
// シーンとレンダラーの初期設定
initScene() {
this.scene = new THREE.Scene();
this.renderer = new THREE.WebGLRenderer();
this.renderer.setSize(window.innerWidth, window.innerHeight);
document.body.appendChild(this.renderer.domElement);
}
// キューブを作成する
createCube() {
const geometry = new THREE.BoxGeometry();
const material = new THREE.MeshPhongMaterial({ color: 0x00ff00 });
this.cube = new THREE.Mesh(geometry, material);
this.scene.add(this.cube);
}
// 光源を追加する
addLights() {
// 平行光源
const directionalLight = new THREE.DirectionalLight(0xffffff, 0.8);
directionalLight.position.set(1, 2, 1);
this.scene.add(directionalLight);
// 環境光源
const ambientLight = new THREE.AmbientLight(0x404040);
this.scene.add(ambientLight);
}
// カメラを設定する
setupCamera() {
this.camera = new THREE.PerspectiveCamera(75, window.innerWidth / window.innerHeight, 0.1, 1000);
this.camera.position.z = 5;
}
// 更新
update() {
this.renderer.render(this.scene, this.camera);
}
// キューブを移動する
moveCube(x, y) {
this.cube.position.x += x;
this.cube.position.y += y;
}
}
// Three.js インスタンスの作成
const threeScene = new ThreeJSScene();
// Phaserゲームの設定
const phaserConfig = {
type: Phaser.HEADLESS,
parent: 'phaser-example',
width: 800,
height: 600,
input: {
keyboard: true
},
scene: {
create: create,
update: update
}
};
const game = new Phaser.Game(phaserConfig);
let keys; // グローバル変数としてキーボードオブジェクトを宣言
// Phaser:初期化
function create() {
// WASDキーの設定
keys = this.input.keyboard.addKeys({
'up': Phaser.Input.Keyboard.KeyCodes.W,
'left': Phaser.Input.Keyboard.KeyCodes.A,
'down': Phaser.Input.Keyboard.KeyCodes.S,
'right': Phaser.Input.Keyboard.KeyCodes.D
});
}
// Phaser:更新
function update() {
// WASDキーによるキューブの移動
if (keys.left.isDown) {
threeScene.moveCube(-0.1, 0);
}
if (keys.right.isDown) {
threeScene.moveCube(0.1, 0);
}
if (keys.up.isDown) {
threeScene.moveCube(0, 0.1);
}
if (keys.down.isDown) {
threeScene.moveCube(0, -0.1);
}
// Three.jsレンダラーを更新
threeScene.update();
}実装のポイント
入力処理は JavaScript の addEventListener ではなく、Phaser の Input を使っています。
Three.js 系の処理は ThreeJSScene クラスにまとめています。
Phaser 部分もクラス化したかったのですが、入力周りで参照エラーが起きたりして、すぐに解決できそうになかったので、今回は諦めました。
基本は Phaser のスタイル(create で初期化、update で更新)を取りつつ、update 内で Three.js の render を呼ぶことで 3D 描画を行っています。
Phaser 側の初期設定時に type: Phaser.HEADLESS を指定することで、Phaser 側の描画処理を無効化しています。
今後の課題
今回の実装では、ゲーム内オブジェクトであるキューブは Three.js 側にあり、Phaser からはキューブの位置を指定する関数(moveCube)を読んでいます。
本来であれば、ゲーム内オブジェクトの情報は Phaser、またはその更に外側のモデル階層で更新して、Phaser でも Three.js でも描画できるのが理想です。
この辺りをどうやるか、そもそもできるのか。
今後もよいやり方がないか探っていきたいと思います。
また、今回は UI を一切表示していませんが、実際のゲームにおいては必須です。
UI についても、Phaser 側にある強力な機能を使いたいところですが、そのためには Phaser と Three.js 両方の描画処理を行う必要があります。
描画部分の併用もできるのか、やるとしたらどうやればいいのか、などを調べていきます。


コメント
コメント一覧 (1件)
[…] 【Three.js】入力を Phaser で処理する | しぬまでワクワクしていたい どうもです、タドスケです。 […]