どうもです、タドスケです。
しぬまでワクワクしていたい


【Vue.js】猫の知識をランダムに表示するだけのアプリ | しぬまでワクワクしていたい
どうもです、タドスケです。 冬休み明けから Web 系の開発をお手伝いすることになりまして、現在必死で勉強しています。 せっかくなので勉強がてらブログに公開できるもの…
前回の記事で、Vue.js を使用した簡単なアプリを作りました。
さすがにこれだけだと何もインタラクティブ感がないので、今回はもう少し Web アプリ感のあるものを作ってみました。
目次
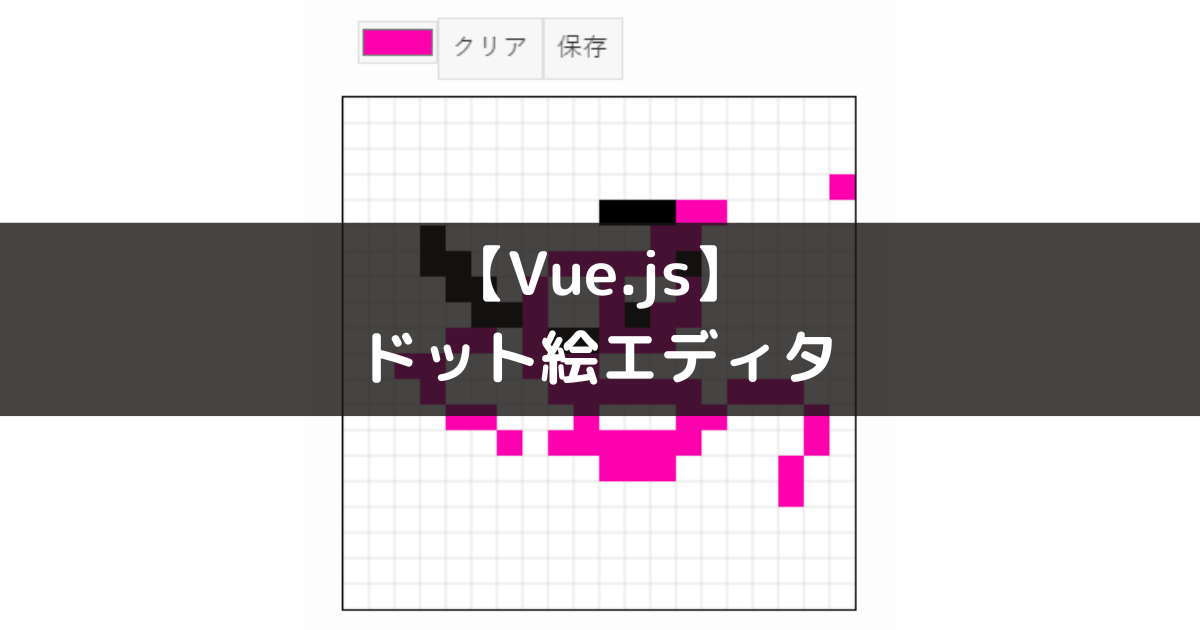
作ったもの
- マウスの左ボタンで操作できます。
- 「保存」ボタンを押すと、編集中の絵を png ファイルとして保存できます。
コード
doteditor.js
export default {
    data() {
      return {
        canvasWidth: 320, // キャンバスの幅
        canvasHeight: 320, // キャンバスの高さ
        currentColor: "#000000", // 現在の描画色(初期値は黒)
        isDrawing: false, // マウスが押されているかどうか
        ctx: null, // Canvasの2Dコンテキスト
        cellSize: 16 // ドットの1マスのサイズ
      };
    },

    // Vueインスタンスがマウントされた後に実行
    mounted() {
      const canvas = this.$refs.canvas;
      this.ctx = canvas.getContext("2d"); // Canvasの2Dコンテキストを取得
      this.clearCanvas(); // キャンバスを初期化
    },

    methods: {
      // キャンバスにグリッドを描画する
      drawGrid() {
        this.ctx.strokeStyle = "#CCCCCC"; // グリッドの線の色
        this.ctx.lineWidth = 0.5; // グリッド線の太さ
        // 縦方向の線を描画
        for (let x = 0; x <= this.canvasWidth; x += this.cellSize) {
          this.ctx.beginPath();
          this.ctx.moveTo(x, 0); // 線の始点
          this.ctx.lineTo(x, this.canvasHeight); // 線の終点
          this.ctx.stroke();
        }
        // 横方向の線を描画
        for (let y = 0; y <= this.canvasHeight; y += this.cellSize) {
          this.ctx.beginPath();
          this.ctx.moveTo(0, y); // 線の始点
          this.ctx.lineTo(this.canvasWidth, y); // 線の終点
          this.ctx.stroke();
        }
      },

      // 描画を開始する(マウスが押されたとき)
      startDrawing(event) {
        this.isDrawing = true;
        this.draw(event); // 最初のドットを描画
      },

      // マウスを動かしたときにドットを描画
      draw(event) {
        if (!this.isDrawing) return; // マウスが押されていない場合は何もしない
        const rect = this.$refs.canvas.getBoundingClientRect(); // キャンバスの位置を取得
        const x = Math.floor((event.clientX - rect.left) / this.cellSize) * this.cellSize; // ドットのX座標
        const y = Math.floor((event.clientY - rect.top) / this.cellSize) * this.cellSize; // ドットのY座標
        this.ctx.fillStyle = this.currentColor; // 選択された色で塗りつぶす
        this.ctx.fillRect(x, y, this.cellSize, this.cellSize); // ドットを描画
      },

      // 描画を終了する(マウスを離したとき)
      stopDrawing() {
        this.isDrawing = false;
      },

      // キャンバスを白で塗りつぶし、グリッドを再描画
      clearCanvas() {
        this.ctx.fillStyle = "#FFFFFF"; // 背景色を白に設定
        this.ctx.fillRect(0, 0, this.canvasWidth, this.canvasHeight); // 背景を塗りつぶす
        this.drawGrid(); // グリッドを描画
      },

      // キャンバスの内容をPNG画像として保存
      saveAsPng() {
        const link = document.createElement("a"); // ダウンロードリンクを作成
        link.download = "dot-art.png"; // 保存ファイル名
        link.href = this.$refs.canvas.toDataURL("image/png"); // キャンバスを画像データURLに変換
        link.click(); // リンクをクリックしてダウンロードを開始
      }
    },

    template: `
      <div class="controls">
        <!-- 色を選択するためのカラーピッカー -->
        <input type="color" v-model="currentColor">

        <!-- キャンバスをクリアするボタン -->
        <button @click="clearCanvas">クリア</button>

        <!-- PNG形式で保存するボタン -->
        <button @click="saveAsPng">保存</button>
      </div>

      <!-- キャンバスエリア -->
      <canvas
        ref="canvas"
        :width="canvasWidth"
        :height="canvasHeight"
        @mousedown="startDrawing"
        @mousemove="draw"
        @mouseup="stopDrawing"
        @mouseleave="stopDrawing">
      </canvas>`
  }
html
WordPress の「カスタム HTML」内にこのコードを貼り付けています。
  <style>
    canvas {
      border: 1px solid #000; /* キャンバスの外枠 */
      cursor: crosshair; /* マウスカーソルの形を変更 */
    }
    .controls {
      margin: 10px; /* コントロールボタンの間隔 */
    }
  </style>

  <div id="app">
    <doteditor></doteditor>
  </div>

  <script src="https://cdn.jsdelivr.net/npm/vue@3"></script>
  <script type="module">
    import DotEditor from 'https://tadosuke.com/wp-content/uploads/vuejs/doteditor.js';

    const app = Vue.createApp({});
    app.component('doteditor', DotEditor);

    app.mount('#app');
  </script>
開発のポイント
- 前回は html 内に script を埋め込んでいましたが、今回は別ファイルに分けました。
- doteditor.js は ConoHa のファイルマネージャを利用してサーバーに直接アップロードし、html からフルパスを指定してインポートしています。
まとめ
js を直接 html に埋め込む場合、html が大きくなり過ぎてしまうことや、他の html への流用ができない問題がありましたが、これでうまくいきそうです。
スタイル設定を無理矢理カスタム HTML タグに詰め込んでいる都合上、body などの記事全体に影響のあるスタイルが指定できない問題がありますが、その辺は id や class を指定して回避するしかなさそうですね…
リンク


コメント